
Last updated November 4, 2026
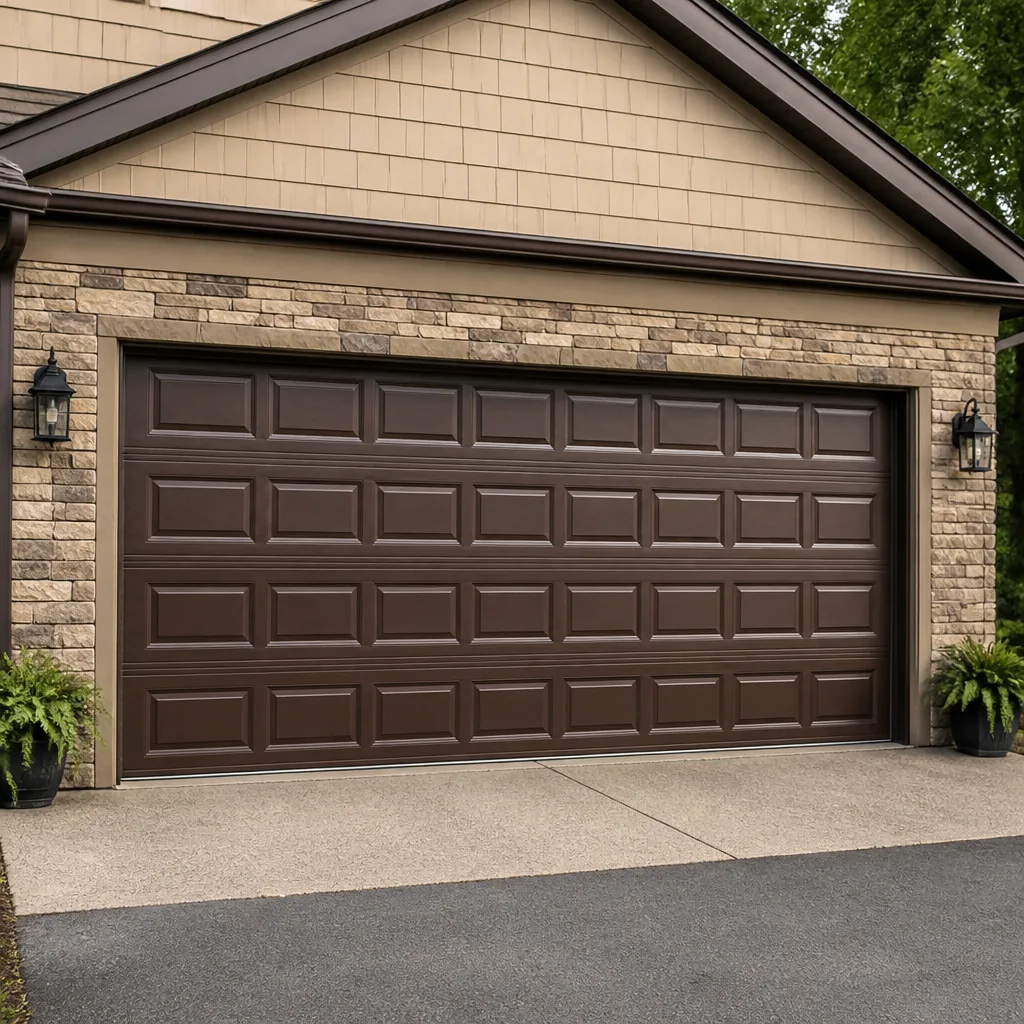 Raised-panel steel
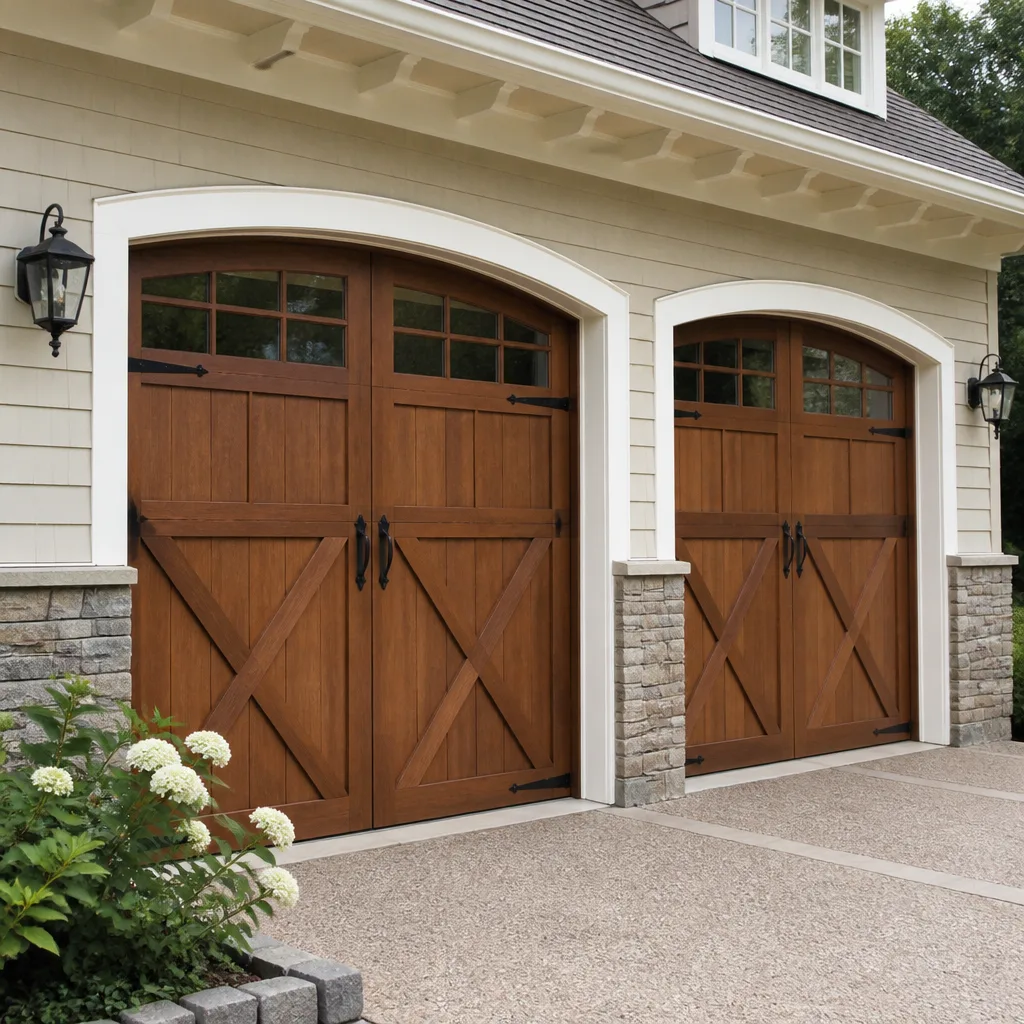 Carriage house
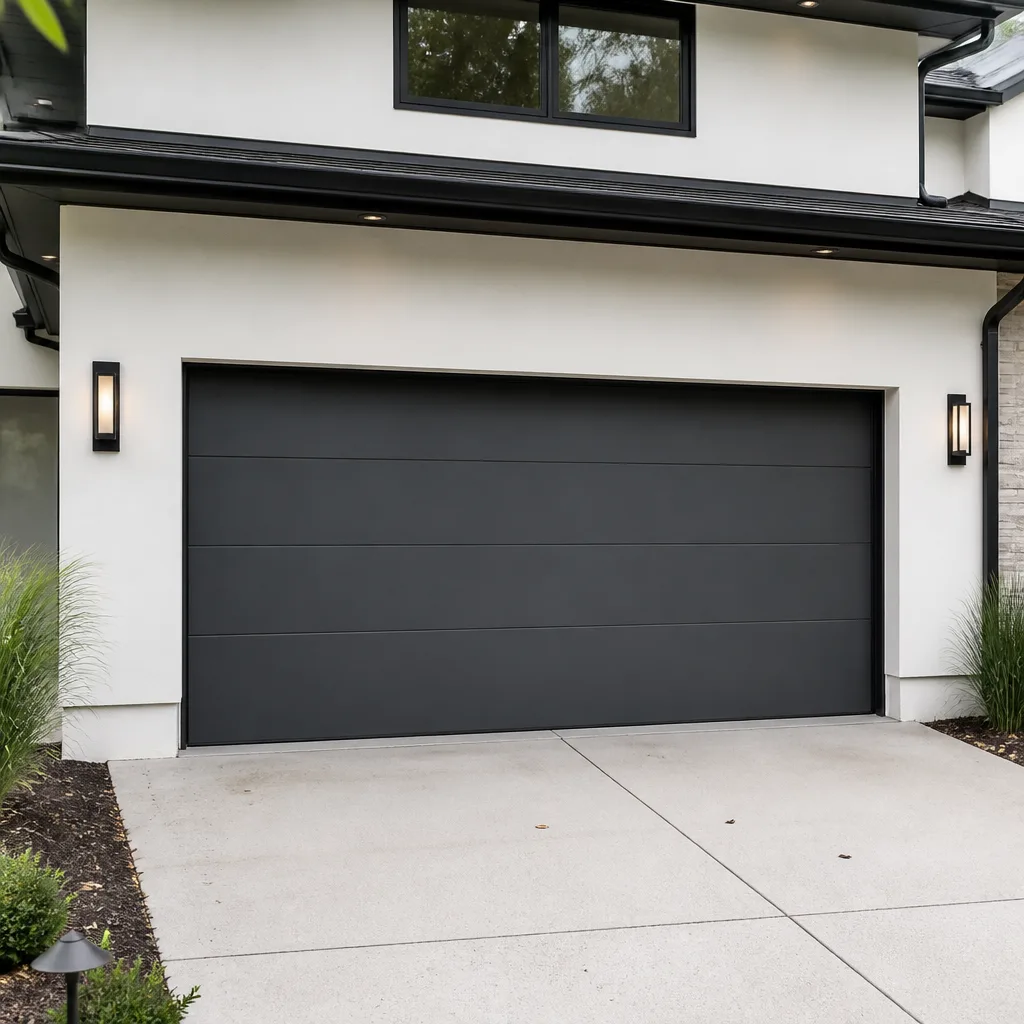 Modern flush
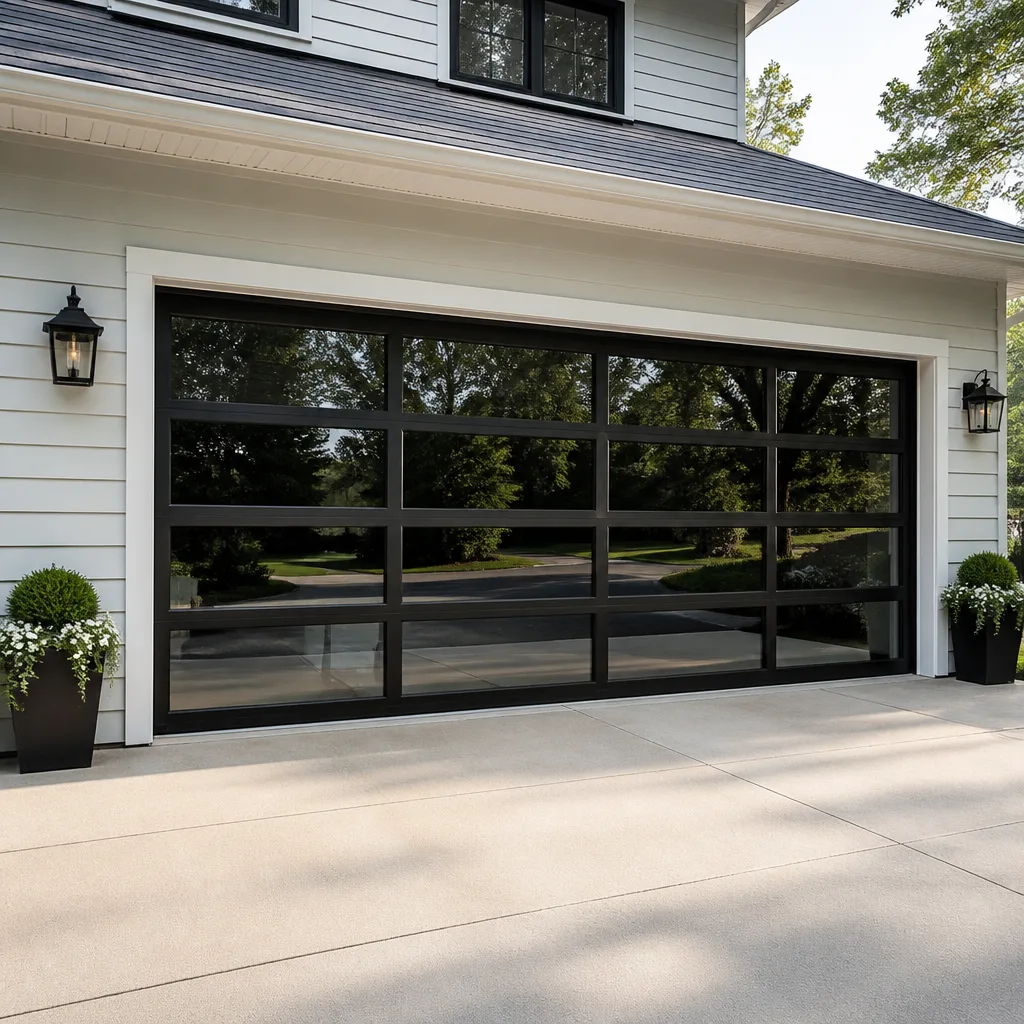 Full-view glass
 LiftMaster openers
 Chamberlain openers
Full 25-point door and opener safety check with every visit - springs, cables, rollers, tracks, and your LiftMaster or Chamberlain opener included
You get a price before we start. It does not change when the truck arrives.
Get your free estimateGarage Door Repair Maintenance Schedule: What to Do and When
Most garage door maintenance schedules were written for places with real winters. You know the ones: lubricate before first frost, check weatherstripping after snowmelt, tighten hardware when the temperature swings. None of that maps to San Clemente, where the door deals with a completely different set of stresses: damp marine air nearly every morning, intense UV exposure on west-facing panels, and fine grit that works its way into tracks when the wind kicks up. This guide replaces the generic quarterly checklist with a task-and-trigger schedule built around what actually degrades garage doors in this climate. You’ll learn which tasks are genuinely time-based, which ones depend on conditions, and how to document what you find so future repairs cost less.
Styles & brands we work with
- Raised-panel steel
- Carriage house
- Modern flush
- Full-view glass
- LiftMaster openers
- Chamberlain openers
Quick Answer
A garage door maintenance schedule for San Clemente homeowners should blend monthly visual checks with condition-based tasks triggered by weather events like high winds or June Gloom moisture. The core work: lubricate moving parts two to three times per year with a silicone or lithium-based product (never WD-40), inspect weatherstripping and hardware before and after the damp season, and do a full safety and balance test annually. Most homeowners can handle the inspection portion themselves in about 20 minutes per month; repairs and spring work belong with a professional.
Table of Contents
- Why Generic Garage Door Maintenance Advice Fails in San Clemente
- The Task-and-Trigger Framework: Time-Based vs. Condition-Based
- Lubrication: The Right Products for Coastal Air
- Weatherstripping and the June Gloom Problem
- The Annual Hardware Audit: What to Check and What Worn Looks Like
- Documenting Your Maintenance: Photos and Notes That Save You Money
- A Simple Monthly Checklist for San Clemente Homeowners
- Common Mistakes to Avoid
- When to Call a Professional
- Frequently Asked Questions
- The Bottom Line
Why Generic Garage Door Maintenance Advice Fails in San Clemente
The standard “lubricate every six months and inspect the springs twice a year” guidance assumes a climate with four distinct seasons. It assumes dry air in summer and freezing temperatures in winter. San Clemente has neither. What it has is a near-constant humidity baseline that keeps metal surfaces damp, a June Gloom season where morning marine layer hangs around for weeks, and UV levels that bake south- and west-facing door panels from late spring through early fall. A homeowner who follows a Chicago-style maintenance calendar will over-lubricate in some spots, which attracts grit, and under-inspect seals at exactly the wrong time. The door isn’t weathering the same way, so the maintenance triggers shouldn’t be the same either.
This matters more than people expect because garage door components fail in stages. A bottom seal that’s lost its compression lets moisture sit against the bottom panel. A roller with worn bearings puts extra load on the opener motor. A hinge that’s worked loose shifts the door’s weight distribution. None of these announce themselves loudly at first. By the time they’re obvious, the repair is more involved. A maintenance schedule tuned to local conditions catches them earlier.
For San Clemente homeowners, the useful distinction isn’t “winter vs. summer.” It’s “damp season vs. dry season” and “normal wear vs. event-driven damage.” We at Aspen Garage Door Service see this pattern consistently: the calls we get after a Santa Ana wind event are different from the calls we get in late spring, and most of both could have been prevented with a small amount of correctly-timed attention.
The Task-and-Trigger Framework: Time-Based vs. Condition-Based
You can divide everything a garage door needs into two buckets. Time-based tasks happen on a schedule because wear accumulates steadily: monthly visual inspections, semi-annual lubrication, annual hardware checks. Condition-based tasks happen when something specific occurs: a windstorm, a period of extended damp, a change in how the door sounds. A complete San Clemente maintenance schedule needs both, and the condition-based list is where most guides fall short.
Time-Based Tasks
- Monthly: Visual inspection of rollers, hinges, springs, cables, and weatherstripping. Listen for changes in sound during operation.
- Every 4-6 months: Clean and lubricate rollers, hinges, springs, and the opener chain or screw drive.
- Annually: Full hardware audit, balance test, auto-reverse safety test, and weatherstripping replacement if needed.
- Every 7-10 years: Professional spring replacement (torsion springs have a cycle life, not a calendar life, but typical residential use lands in this window).
Condition-Based Triggers
- After high winds (especially Santa Ana events): Check for debris in the tracks, bent track brackets, and grit worked into the rollers.
- After an extended damp stretch (June Gloom, winter marine layer): Inspect the bottom seal for compression loss, check for early rust on exposed hardware, and look for moisture wicking up the bottom panel.
- When the door’s sound changes: A new grinding noise, a squeak that wasn’t there before, or a rattle during travel means something is wearing.
- When the door’s speed changes: A door that opens slower than usual, hesitates midway, or closes faster than it should needs attention before the opener motor takes the strain.
- After any impact: A vehicle bump, a sports ball hit, or a fallen object against the door can throw off track alignment or dent a panel in ways that worsen over time.
The condition-based triggers matter because they catch problems at the moment of stress, not on an arbitrary calendar date. A door that sailed through a Santa Ana event with no new sounds probably needs nothing extra. A door that picked up a subtle scrape during that same wind needs track attention within days, not months. This framework is the one we recommend to homeowners in San Clemente, and it’s the basis for every garage door repair conversation we have when maintenance wasn’t quite enough.
Lubrication: The Right Products for Coastal Air
The single most common lubrication mistake we see is WD-40. If you have a can of it on the garage shelf and you’ve been spraying it on your door, stop. WD-40 is a solvent and moisture displacer, not a lubricant. It’s designed to free stuck parts and clean surfaces, then evaporate. On a garage door, it provides about a week of smooth operation, strips what little lubrication was there, and leaves behind a residue that attracts dust and grit. In San Clemente’s damp air, that residue also holds moisture against metal surfaces, which is exactly what you don’t want.
What you want is a lithium-based grease for metal-on-metal contact points and a silicone-based spray for plastic parts and weatherstripping. Here’s the breakdown:
| Part | Product Type | Notes |
|---|---|---|
| Rollers (metal bearings) | White lithium grease | A small amount on the bearing, wipe away excess |
| Hinges | White lithium grease or silicone spray | Work the door open and closed a few times after applying |
| Torsion springs | Silicone spray | Light coat along the entire coil, do not saturate |
| Tracks | Nothing | Clean tracks with a damp cloth only; lubricating tracks attracts grit |
| Weatherstripping | Silicone spray | Keeps the rubber flexible and prevents it from drying out in UV |
| Opener chain or screw | Silicone spray or lithium grease | Follow the opener manufacturer’s guidance; most screw drives take lithium |
One point worth being explicit about: garage door tracks should never be lubricated. The rollers don’t rely on the track for smoothness; they have their own bearings. Grease in the track just creates a paste with dust and ocean grit, and that paste grinds down rollers faster and makes the door louder. If the track looks dirty, clean it. If the door is still rough after cleaning, the problem is likely the rollers or an alignment issue, not a lack of track lube.
For San Clemente specifically, the damp air means you should wipe down metal surfaces with a dry cloth before applying any lubricant. This removes the light condensation and surface grime that accumulates overnight. Applying lubricant on top of moisture traps it against the metal. It’s a small step that extends the life of hinges and springs noticeably in this climate.
Weatherstripping and the June Gloom Problem
June Gloom in San Clemente isn’t just a joke about gray mornings. It’s a weeks-long stretch where the marine layer hangs low, relative humidity stays elevated well past sunrise, and surfaces that rarely fully dry out start showing it. Your garage door’s bottom seal, also called the astragal or bottom weatherstrip, is the component that takes the worst of this. It sits directly against the concrete, wicks moisture from damp slabs, and gets compressed every single time the door closes. Over time, the rubber loses its ability to spring back, and the seal stops sealing.
Why this matters: a bottom seal that no longer compresses properly leaves a visible gap even when the door is closed. Through that gap comes damp air, fine dust, insects, and in San Clemente, whatever light rain the season delivers. The moisture rises and sits against the bottom panel, which on many doors is a steel section with a seam at the bottom edge. That’s where rust starts. A garage door panel isn’t designed to have standing moisture against it, and once rust takes hold at the seam, the panel’s structural integrity is compromised. Panel replacement is significantly more expensive than weatherstripping replacement.
Here’s how to assess your bottom seal during the damp season:
- Close the door fully and look at the bottom edge from inside the garage. You’re checking for daylight or a visible gap.
- Run your palm along the seal where it meets the concrete. It should feel like firm rubber. If it feels flattened, cracked, or has no spring-back, it’s done.
- Press on the seal from the side. A healthy seal compresses and returns to shape. A worn one stays compressed or crumbles slightly.
- Look at the bottom panel itself. Any dark staining, bubbling paint, or rust speckling means moisture has already been sitting there.
Weatherstripping replacement is a straightforward job and the parts are inexpensive compared to what it protects. We recommend checking it every spring before the damp season peaks, and again in the fall as the light rain returns. If you’re not sure whether yours is still effective, a quick look during the next San Clemente morning with low marine layer will tell you more than any guide can.
For homeowners who also want to keep the garage interior dry beyond the door itself, this is the point where we often suggest pairing the bottom seal check with a look at the side and top weatherstripping too. The perimeter seals take less abuse than the bottom, but they still age, crack, and let air exchange happen. A full seal replacement every few years keeps the garage noticeably drier and more stable in temperature.
The Annual Hardware Audit: What to Check and What Worn Looks Like
Once a year, set aside about 30 minutes with good light and a flashlight. You’re looking for loose fasteners, worn rollers, frayed cables, and stress marks on metal components. Most of this is visual. You don’t need to remove anything or take the door apart. You need to know what normal looks like and what early wear looks like.
Here’s the audit checklist, in order of priority:
- Rollers: Check each roller for wear on the wheel surface and play in the bearing. A roller that spins smoothly with no wobble is good. One that wiggles side to side, makes a scraping sound, or has visible flat spots on the wheel is near the end. Rollers are a wear item and are replaced in sets.
- Hinges: Look at every hinge, especially the bottom two, which carry the most load. You’re looking for cracks starting at the pin holes, elongated holes where the screws have worked loose, and rust pitting. A hinge with a visible crack is a failure in progress.
- Track brackets and bolts: Every bolt should be snug. If you see one that’s backed out, you can tighten it. If you see a bracket that’s bent or a bolt that won’t hold torque because the hole is wallowed, that’s a professional-level fix. Track alignment depends on brackets holding their exact position.
- Springs: Look at the torsion springs above the door. A healthy spring has even coils with no visible gap between coils at rest. A spring with a visible gap, an uneven coil, or rust flaking on the surface is telling you it’s wearing. Do not attempt to adjust or replace garage door springs yourself; this is a high-tension component and a leading cause of serious garage-door injuries. A professional handles spring work.
- Cables: Inspect the lift cables that run alongside the door and wrap the drums at the top. They should be smooth, straight, and under even tension. Fraying, kinking, or rust on the cable strands is a replacement item. Cables are also under high tension and are not a homeowner repair.
- Nuts, bolts, and lag screws: Go around the entire track system and the opener rail with a wrench and check for anything loose. A few loose fasteners per year is normal; constant loosening in the same spot is a sign of excess vibration or misalignment.
The “worn enough to replace” question is the one we get most often. The rule of thumb: rollers get replaced when they wobble or scrape, not when they fail completely. Hinges get replaced when you can see a crack, not when the door starts sagging. Springs get replaced when there’s a visible gap or the door feels heavy to lift manually, not when they snap. Catching these at the wear stage means a scheduled, predictable replacement instead of an emergency call when the part gives out in use. In San Clemente, where the door cycles multiple times daily for most families, the cycle count adds up faster than people expect.
Documenting Your Maintenance: Photos and Notes That Save You Money
This is the part most maintenance guides skip, and it’s the one that saves homeowners the most money over time. When you do your monthly visual check or annual audit, take photos. Phone photos are fine. You’re not trying to create a professional inspection report; you’re building a record of what your door looked like at various points in time. This record is invaluable when something starts to wear because you can show a technician exactly when a change became visible.
We see this play out regularly: a homeowner calls about a noise or a rough patch in the door’s travel, and they have six months of photos showing a roller gradually accumulating rust or a bracket slowly shifting. That lets us identify the failure pattern in minutes instead of working backward from the current state alone. It’s the difference between replacing the one worn roller that’s causing the problem and replacing the whole set because we can’t determine which one started wearing first. The photos also help when a problem is intermittent; a technician can compare your photos against what they’re seeing on site and spot the change that matters.
What to photograph each time:
- The bottom seal, full width, from inside the garage with the door closed
- Each roller, top to bottom, on both sides
- Both torsion springs or extension springs
- Both lift cables
- The track on each side, midpoint where any bend would be visible
- Any component that concerned you on the last check
Keep the photos in a dedicated album on your phone. Add a short note with anything you noticed: “slight rattle at midpoint today,” “bottom seal looks flatter than last month,” “door felt heavier than usual this week.” Even brief notes give a technician context that speeds up diagnosis. This documentation habit is one of the most useful things we recommend to homeowners in San Clemente, because it turns a vague “the door feels off” into a specific, actionable description. It’s
See the difference
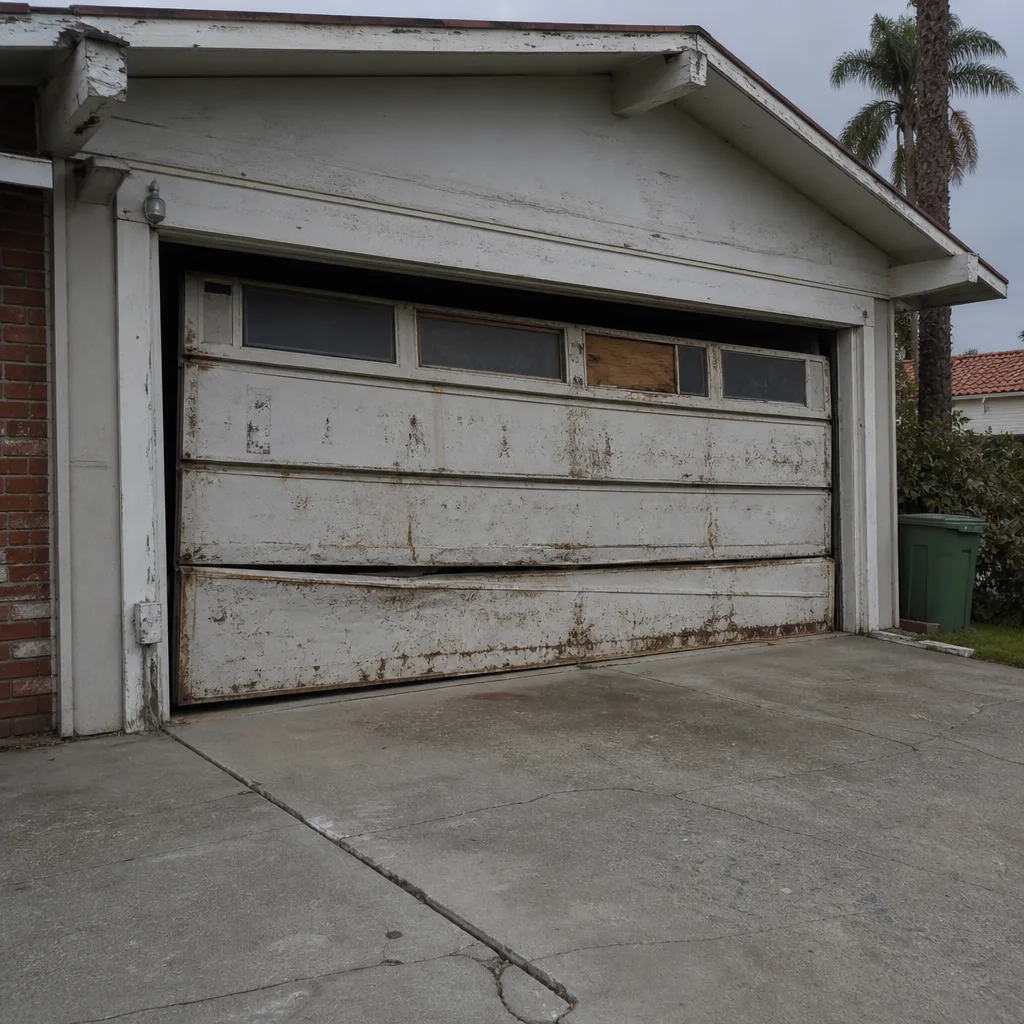 Before
 After
 Before
 After
 Before
 After